Installing vCenter Operations Manager 5.3 – A Step By Step Guide
First, download the Free Trial or if your licensed for the full version here!
*Note – Roughly 350GB disk space will be required!
Then we must configure a couple of pre-requisites required for the installation and successfull deployment of vCenter Operations Manager 5.3.
- Open your vSphere client, clock on home > networking, then click on the Cluster you wish to monitor, select the IP Pools tab and click Add.
- You will then configure the Network Address and Default Gateway for the IP Pool.
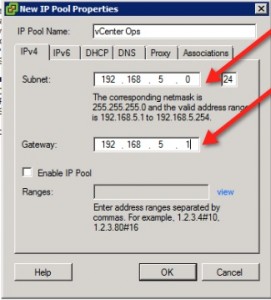
- Click Ok and you should now see your IP Pool in the list.
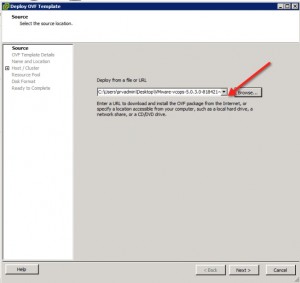
- Now in your vCenter client, click on File > Deploy OVF Template
- Select the OVA file you downloaded above
- Click Next
- Click Next
- Click Accept > Click Next
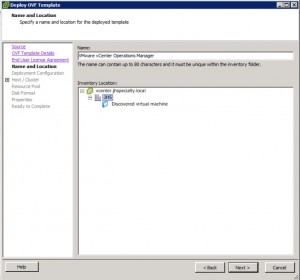
- Select the name and Location > Click Next
- Click Next (Using Small as the Deployment0
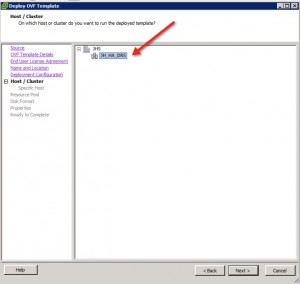
- Select the Cluster and Click Next
- Select the datastore, Click Next
- Accept the default of lazy zero, Click Next
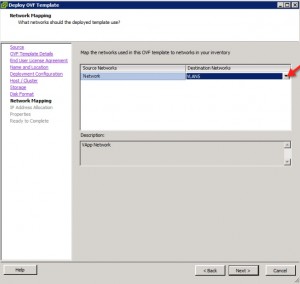
- Select the network map you wish to use, Click Next
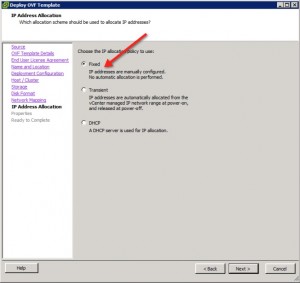
- Select the IP Addressing Scheme and click Next
- Configure the Time Zone and both IP Addresses, Click Next
- Check “Power On After Deployment” then Finish
- You should now see the vApp for vCenter Operations Manager 5.3 power on.
- You can now log into the Operations Manager UI using the default username and password of: admin/admin


