your home for end-user virtualization!
How to ThinApp the vSphere 5.1 vCenter Client for Windows 7
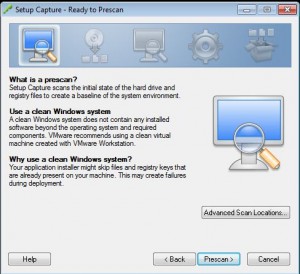
Creating a ThinApp package of the vSphere client is much like creating other ThinApp packages. Lets start by starting the ThinApp Setup Capture client and taking a pre-scan of the target system.

How to ThinApp the vSphere 5.1 vCenter Client for Windows 7 Step 1
In this case, we will not be using any advanced scan locations.
How to ThinApp the vSphere 5.1 vCenter Client for Windows 7 Step 2
Click next to kick of the scan
How to ThinApp the vSphere 5.1 vCenter Client for Windows 7 Step 3
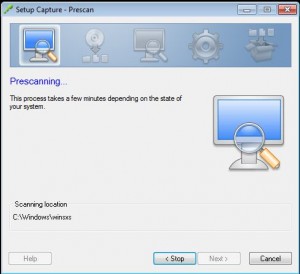
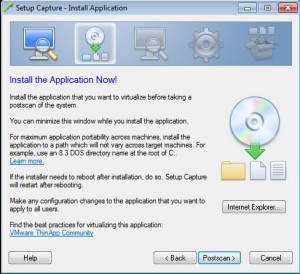
Once the pre-scan is complete, we’ll go ahead and install the vCenter client.
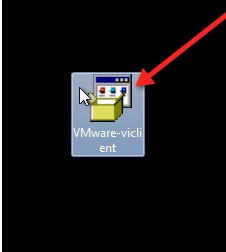
Double-click the installer
How to ThinApp the vSphere 5.1 vCenter Client for Windows 7 Step 4
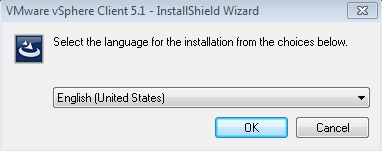
Select your language and click ok
How to ThinApp the vSphere 5.1 vCenter Client for Windows 7 Step 5
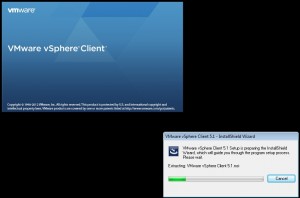
Watch for any errors during the installation by watching the progress bar.
How to ThinApp the vSphere 5.1 vCenter Client for Windows 7 Step 6
Click next to continue on with the installation
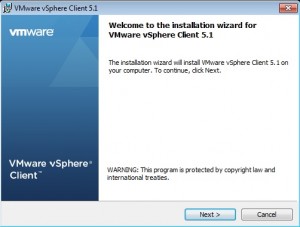
How to ThinApp the vSphere 5.1 vCenter Client for Windows 7 Step 7
Click Next to accept the patent infringement and EULA… who reads those anyway :)
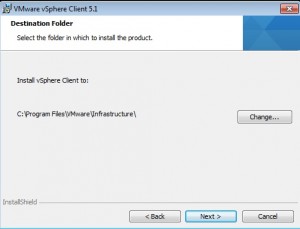
Click Next unless you want to change the default installation directory
How to ThinApp the vSphere 5.1 vCenter Client for Windows 7 Step 8
Then click install to kick off the installation.
Should your computer need .Net or any other pre-requisites, they will also be included in this package. It’s best practice to try and include these package pre-requisites into the existing desktop image, thus reducing your ThinApp package size.
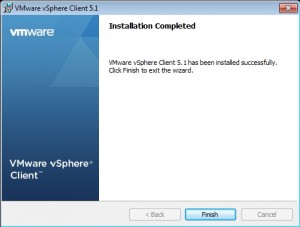
Click Finish to complete the vSphere 5.1 vCenter Client installation.
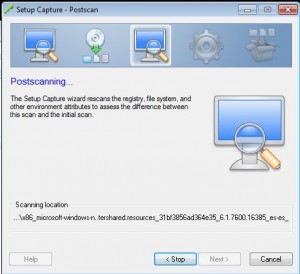
How to ThinApp the vSphere 5.1 vCenter Client for Windows 7 Step 9
Next, click post-scan to continue with the ThinApp packager.
How to ThinApp the vSphere 5.1 vCenter Client for Windows 7 Step 10
This post-scan make take some time, especially if you needed to install pre-requisites.
How to ThinApp the vSphere 5.1 vCenter Client for Windows 7 Step 11
In this case, we only need the entry point to the vSphere Client, so thats all we will select, we then click Next.
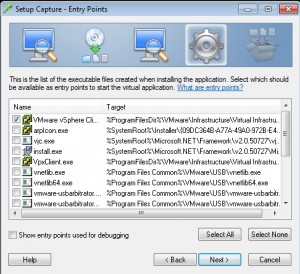
How to ThinApp the vSphere 5.1 vCenter Client for Windows 7 Step 12
Use the defaults for each of the following screens, and then build the package.